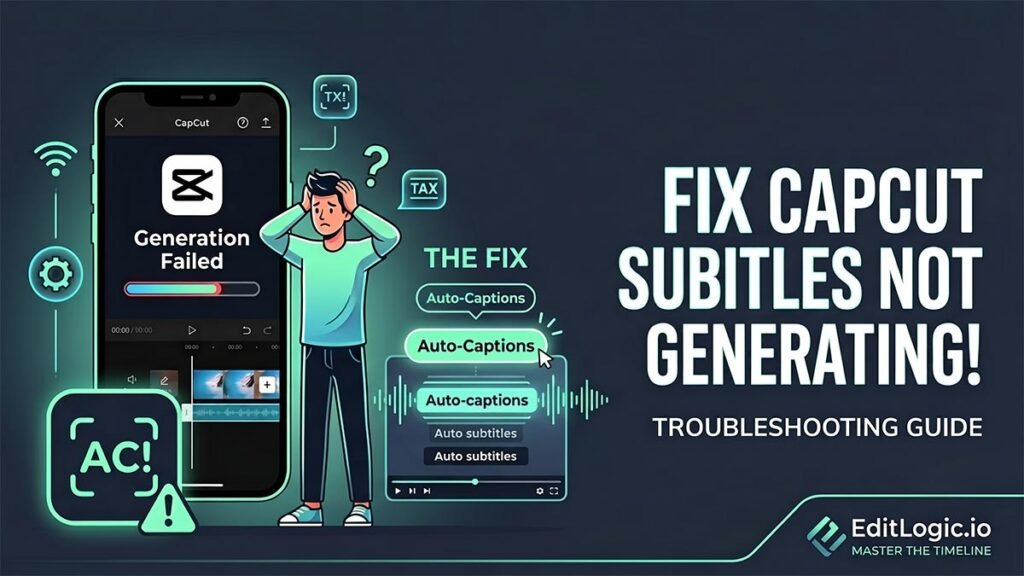
Over 80% of social media users watch video on mute. If your content doesn’t have subtitles, most of your audience is gone before they’ve given it a chance.
CapCut’s auto-caption tool generates synced subtitles in seconds — no manual transcription, no third-party service. This guide covers how to use it on both the Desktop and Web versions, including batch editing and auto-translation.
This comprehensive tutorial teaches you everything about how to subtitle videos online and with PC, including its essential features, primary benefits, and detailed instructions for implementation.
Key Features of the CapCut Subtitle Generator
CapCut doesn’t just overlay basic text onto a timeline; it acts as a fully integrated, intelligent environment for speech-aware video editing.
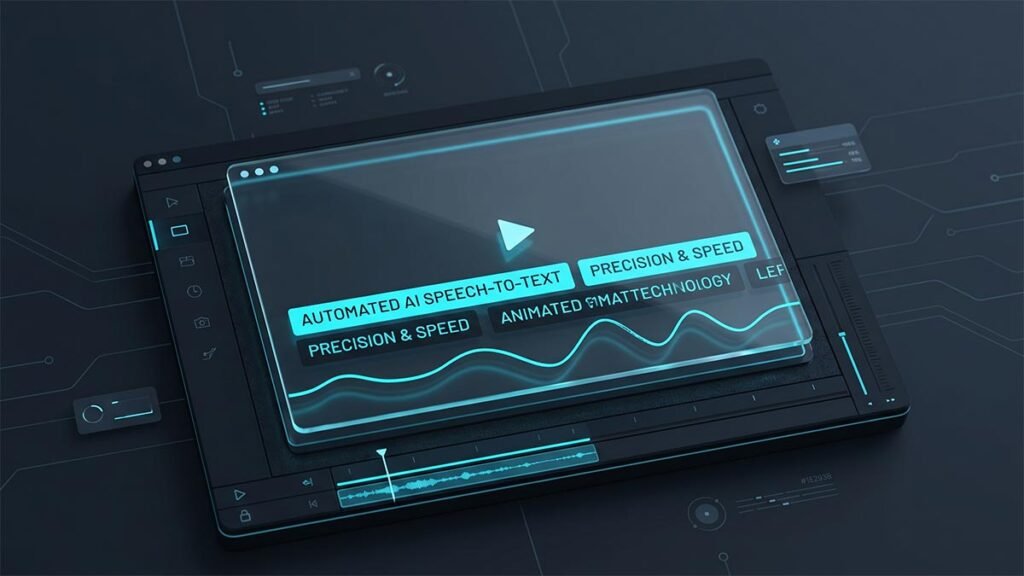
1. Instant Auto-Caption Generation
Driven by advanced neural networks, CapCut’s automated engine recognizes spoken words across multiple languages and translates them instantly into perfectly timed on-screen text.
- Accuracy: Minimizes manual typo fixes, even when processing rapid speech or casual dialogue.
- Clarity Focus: For pristine visuals, pair the subtitle generator with CapCut’s AI People Remover to scrub distracting background figures out of frame, keeping the viewer’s focus on your primary subject and your text.
2. Trendy Text Styles & Kinetic Effects
Standard block text bores modern viewers. CapCut features an expansive library of preset text styles, dynamic kinetic animations, and glow effects to ensure your captions visually engage.
- Visual Cleanup: If your original source video has baked-in hardcoded text blocking your new captions, use the AI Text Remover tool to safely wipe out distracting on-screen graphic assets. CapCut
- Brand Matching: Easily fine-tune your font, size, screen positioning, and color schemes to guarantee maximum readability against dark or chaotic backgrounds. CapCut
3. Automated Visual Enhancement
Adding text is only one half of the packaging equation. CapCut streamlines the aesthetic layout of your project by serving as a launchpad for broader automated visual enhancements. Within the same sequence interface, you can drag and drop sound effects, stickers, and premium video filters.
4. Batch Editing & AI Auto-Translation
Editing individual text blocks on a video timeline is a massive post-production bottleneck. CapCut circumvents this issue by introducing a dedicated list view panel.
- Global Overhauls: Make swift structural adjustments, fix spelling mistakes, or redefine paragraph line breaks within an aggregated text list rather than clicking every individual clip box.
- Global Reach: Leverage the built-in AI subtitle translator to automatically convert your primary language captions into over 20 target international languages in a single click.
Top Benefits of Automating Your Captions
Implementing an automated transcription engine provides massive strategic leverage for creators and brands:
- Post-Production Efficiency: Speeding up manual text generation allows you to focus your attention purely on story structure, video pacing, and upload scheduling. CapCut
- Vocal Brand Preservation: Fine-tune custom preset templates so that every piece of short-form or long-form content you publish retains an identical font profile and motion layout.
- Cloud Collaboration Capabilities: CapCut Web supports multi-user workspace access. Remote teams can log in simultaneously, hand off editing permissions, and collaborate on subtitle accuracy in real time.
Strategic Real-World Use Cases
Ads & Brand Marketing
Promotional media must capture consumer attention in the first three seconds. Utilizing automated captioning preserves clarity even when viewed on a muted feed, directly raising retention rates and boosting final ad conversions.
Online Educational Content
For tutorials, lectures, and corporate training programs, text accessibility is crucial for information assimilation. Subtitles aid in breaking down complex multi-step instructions and allow international students to seamlessly track technical terminology.
Video Podcasts & Interviews
Repurposing high-retention podcast highlights into short clips requires clear narrative reinforcement. Captions keep dialogue-heavy loops cohesive when consumed in public spaces or noisy commuting environments.
Walkthrough 1: Add Subtitles Using CapCut Online (Web)
For cloud-based creators who want to build assets instantly from any browser without hardware setup:
Step 1: Upload Your Media Asset
Navigate to the cloud editing dashboard. Click Upload to fetch your source files from your local storage system, or import them directly from integrated file systems like Google Drive. Once compiled, drag your target video clip directly down into the editing timeline.
Step 2: Initialize the Auto Captions Tool
Locate the left-hand vertical toolbar and click on the Captions tab. Select the Auto captions utility. Use the dropdown selector to match the spoken language of your audio stream, and click Generate. The cloud server will parse the audio file and populate perfectly aligned text clips along a new subtitle track.
Step 3: Styling and Final Export
Review your text layers. Use the text styling tools on the right sidebar to change fonts or choose a preset style layout. Once finalized, hit Export in the top-right corner, configure your target resolution settings, and hit download or publish directly to social networks.
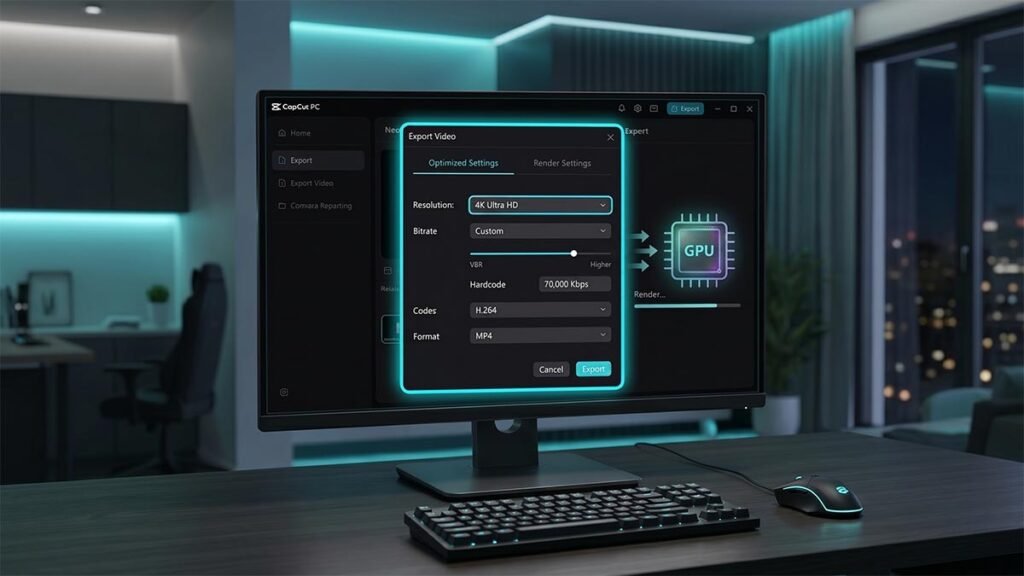
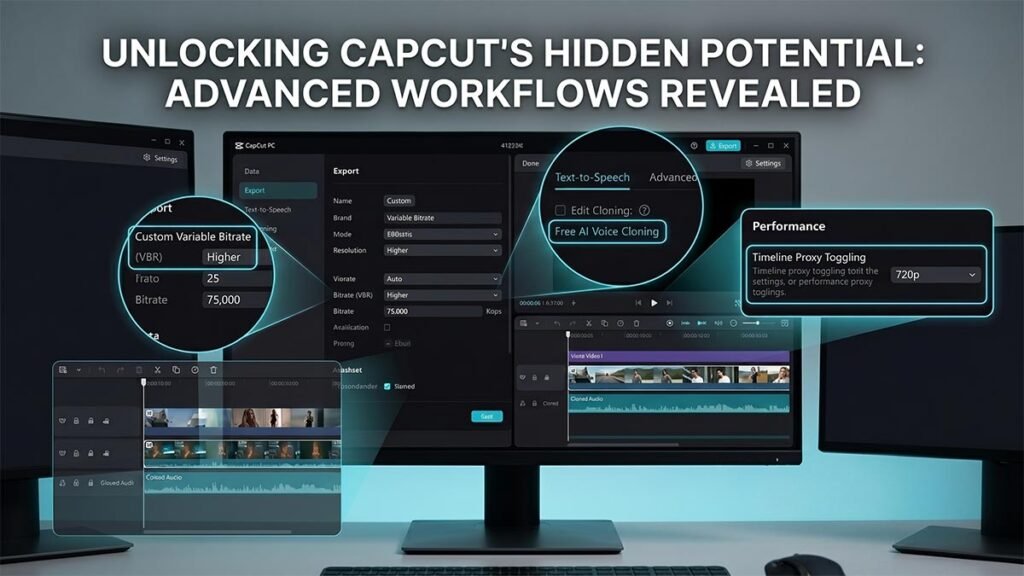
Walkthrough 2: Add Subtitles Using CapCut PC (Desktop)
For video editors requiring maximum processing speed, higher bitrates, and a localized native environment:
Step 1: Import Your Projects
Launch CapCut Desktop and initialize a New Project. Click the prominent Import button inside the media bin to select your source video footage. Drag the imported asset straight down onto the primary timeline track layer.
Step 2: Execute Speech Recognition
Go to the top navigation toolbar and click on the Text tab. From the left side panel options, click Auto captions. Specify the exact source audio language via the language dropdown menu, and click Create. The software will rapidly scan your timeline track and generate a synchronized text sequence block directly over your video cuts.
Step 3: Apply Global Formatting & Export
Select any caption layer on your timeline to reveal the formatting box on the upper right panel. Adjust settings under the System or Preset tabs. Ensure “Apply to all” is checked to apply modifications uniformly across the whole track. Click the blue Export button, confirm your export paths, resolution, and audio settings, then finalize your render to disk.