Stop Cutting Clips Manually – Let CapCut Do It For You
Manually dragging cut points to match a beat is exactly as tedious as it sounds — and after twenty minutes of it, the sync still isn’t quite right.
CapCut’s Beat Sync feature handles this automatically. It detects the rhythm of your track and aligns your clips to the hits and drops without you touching a single cut point. This guide shows you how to use it.
Prerequisites / What You Need
Before you start, make sure you have the following ready:
- ✅ CapCut app installed (mobile: iOS or Android) or CapCut desktop (Windows/Mac) — latest version recommended
- ✅ At least 3–6 video clips already imported into your CapCut project
- ✅ A music track added to your timeline (either from CapCut’s audio library or a custom upload)
- ✅ A project timeline that is not yet finalized — Beat Sync works best before you lock your edits
- ✅ Basic familiarity with the CapCut timeline (knowing how to import clips and add audio)
Step-by-Step Tutorial: Syncing Video Clips to a Music Beat in CapCut
Phase 1 — Set Up Your Project and Import Your Clips
- Open CapCut and tap New Project.
- Select all the video clips you want to include and tap Add to bring them into the timeline.
- Arrange your clips in your preferred order by long-pressing and dragging each clip on the timeline.
Keep your clips slightly longer than you think you need. Beat Sync will trim them automatically to match the rhythm.
Phase 2 — Add Your Music Track
- Tap the Add Audio button below the timeline panel.
- Select Sounds to browse CapCut’s library, or tap My Music / Extracted to use your own track.
- Tap the + icon next to your chosen track to add it to the timeline.
Make sure your audio track runs the full length of your video clips. If your music is shorter, Beat Sync will only work within the audio’s duration.
Phase 3 — Enable Beat Sync (The Core Step)
This is where the magic happens.
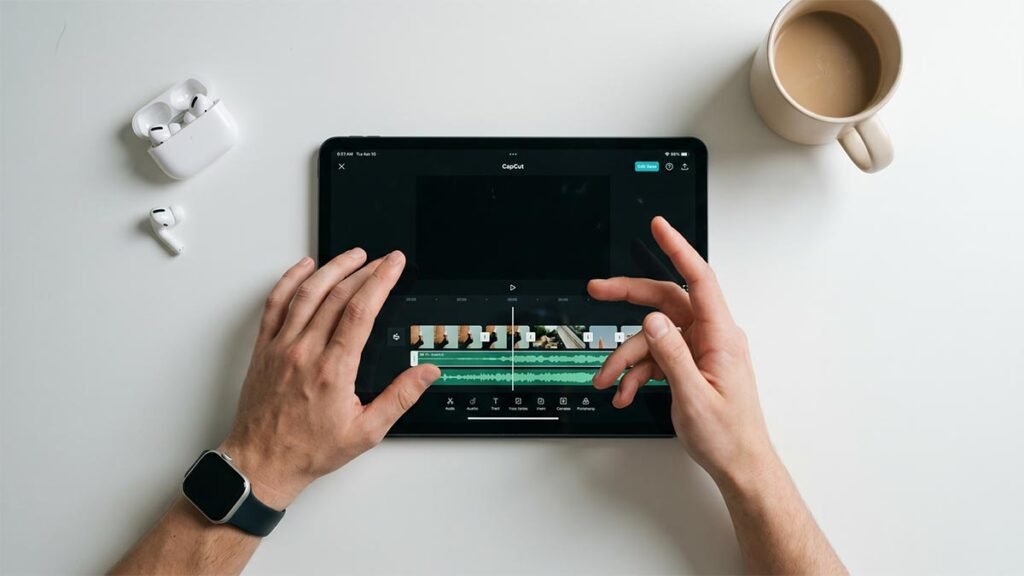
On Mobile (iOS & Android):
- Tap on the audio track in your timeline to select it — it will highlight in orange or blue.
- In the bottom toolbar, scroll right and tap Beat.
- You’ll see two options appear: Auto Beat and Manual Beat.
- Tap Auto Beat to let CapCut automatically identify beat markers across your track.
- Toggle on Beat Sync at the top of the Beat panel.
- Tap ✓ (checkmark) to confirm and apply.
On Desktop:
- Click on your audio clip in the timeline to select it.
- In the right-side panel, locate and click the Beat tab.
- Click Auto Beat — CapCut will scan the track and place yellow beat markers on the audio waveform.
- Enable the Sync to Beat toggle.
- Click Apply to confirm.
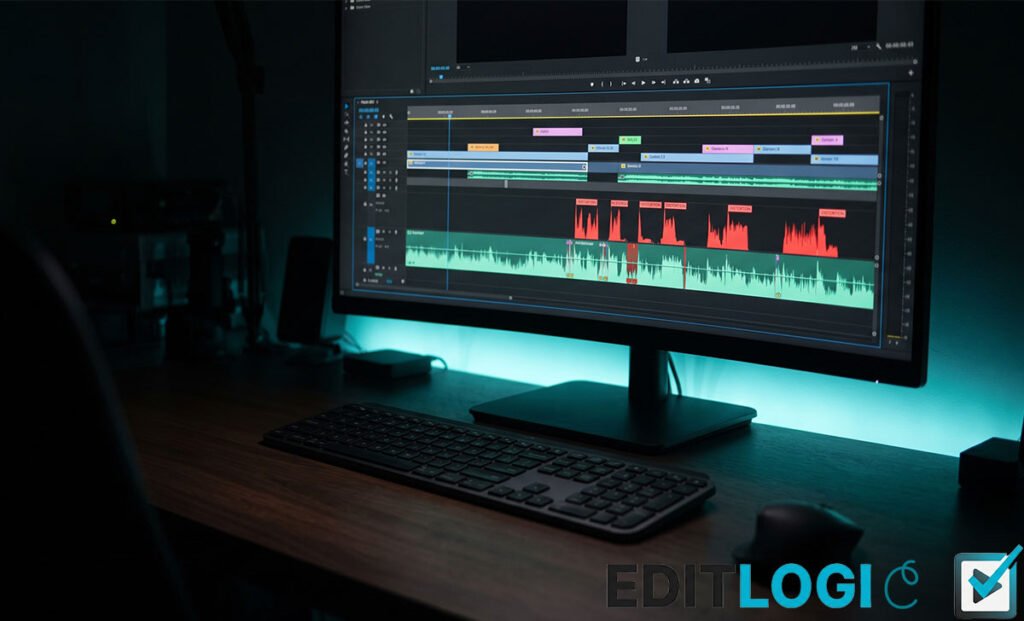
Yellow diamond markers will now appear along your audio waveform — each one marks a beat where a clip cut will be placed. Watch this CapCut Beat Sync tutorial on desktop
Phase 4 — Adjust Beat Sensitivity and Clip Matching
- After enabling Auto Beat, look for the Sensitivity slider (available in most versions).
- Slide right for more beat markers (faster cuts, high-energy feel).
- Slide left for fewer markers (slower, more cinematic pacing).
- CapCut will now automatically trim and arrange your clips so each cut lands on a beat marker.
- Preview the result by tapping the Play ▶ button.
If a specific clip feels wrong, you can manually tap a beat marker to delete it, giving you granular control without losing the auto-sync foundation.
Phase 5 — Preview, Fine-Tune, and Export
- Play back your full video from the beginning using the Play button.
- For any clip that feels off, tap on it and use the Split tool to manually adjust the cut point.
- Apply any transitions between clips by tapping the white box icon between clips and selecting a style (e.g., Dissolve, Flash, Slide).
- Once satisfied, tap Export in the top-right corner and choose your resolution (1080p recommended).
How to Fix Common Beat Sync Errors
Problem 1: “The Beat Sync option is greyed out or missing”
Why it happens: Beat Sync only activates when an audio track is properly selected in the timeline. If you tap an empty area or a video clip, the Beat option won’t appear.
Fix: Tap directly on the audio bar (the colored waveform bar at the bottom of the timeline) until it highlights. Then re-access the Beat menu from the bottom toolbar. If it’s still missing, make sure your app is updated to the latest CapCut version.
Problem 2: “My clips are getting cut too short and some look choppy”
Why it happens: Too many beat markers are generated on a fast-tempo track, forcing clips to be trimmed to fractions of a second.
Fix: Go back into the Beat panel and lower the Sensitivity slider, or manually tap and delete excess beat markers on the waveform. Aim for one beat marker every 1–3 seconds for a clean, watchable result.
Pro Tips for Speed & Efficiency
Pro Tip 1 — Use CapCut’s “Auto Highlight” Before Beat Sync
Before running Beat Sync, use the Auto Highlight feature (found under the clip editing menu) to let CapCut identify the best moments in your footage. Combine this with Beat Sync and your best clips will automatically land on the best beats — minimal editing required.
Pro Tip 2 — Duplicate Your Project Before Applying Beat Sync
Beat Sync restructures your timeline significantly. Before applying it, go to the main Projects screen, long-press your project, and tap Duplicate. This gives you a safe backup so you can compare results or revert without starting over.
Conclusion
Beat-synced videos aren’t just visually satisfying — they feel professional, shareable, and polished in a way that manually-cut videos rarely achieve. Now that you know how to use CapCut’s Auto Beat and Beat Sync tools, you can produce rhythm-perfect edits in a fraction of the time.
Whether you’re creating a travel reel, a brand video, or a viral social clip, this workflow transforms raw footage into something that genuinely moves with the music. Go experiment with different tempos, try pairing slow-motion clips with sparse beats, and make this technique your own — your audience will notice the difference. CapCut’s official guide on syncing audio and video